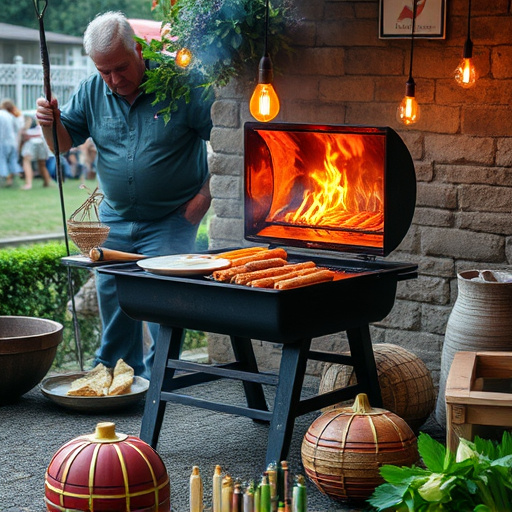
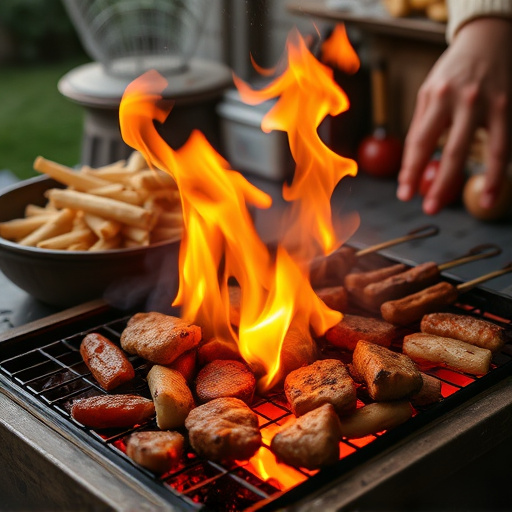
Crafting perfect BBQ ribs in the oven starts with choosing the right cut (baby back or spare) and selecting ribs with good marbling. Season with a dry rub, then bake at 275°F/135°C for tenderness followed by higher heat for crunch. Use glazing techniques like sauce, honey, or mustard to enhance flavor and texture, or broil after partial baking for a crispy exterior. Master these steps for delicious, tender oven-baked BBQ ribs.
Unleash your inner BBQ master with the perfect guide to achieving that dream texture in baked ribs. From selecting the right ribs for your oven-roasted masterpiece to mastering slow cooking techniques, this article covers it all. Discover the art of dry rubs and their crucial role in developing that mouthwatering crunch. Learn glazing tips to lock in flavors and finish with a shiny, sticky coating. Take your BBQ ribs recipe oven skills to the next level!
- Selecting the Right Ribs for Your BBQ Ribs Recipe Oven
- Preparation Techniques to Achieve Desired Texture
- Understanding Dry Rub and Its Role in Texture Development
- Mastering the Art of Slow Cooking for Tender Ribs
- Glazing Techniques for a Shiny, Sticky Coating
- Tips for Broiling to Seal in Flavors and Finish with Crunchy Texture
Selecting the Right Ribs for Your BBQ Ribs Recipe Oven
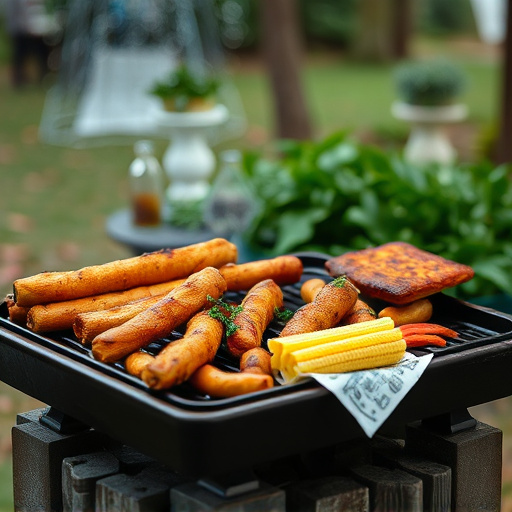
When crafting your perfect BBQ ribs in an oven, choosing the right cut is half the battle won. Ribs for a BBQ ribs recipe oven should have good marbling and a fair amount of meat attached to the bone. The most common cuts are baby back or spare ribs. Baby back ribs, as the name suggests, come from the top of the ribcage and have less fat and more meat, making them easier to cook evenly in an oven. Spare ribs, on the other hand, are meaty with a good amount of bone structure, ideal for those who prefer a richer, fattier rib experience.
The right ribs will ensure your BBQ ribs recipe oven yields tender, juicy results. Look for ribs that have a deep red color and feel slightly pliable but not mushy to the touch. Proper selection ensures that your baking process, whether it involves dry rubbing, slow roasting, or basting, can highlight the natural flavors of the ribs rather than overwhelming them with extra ingredients.
Preparation Techniques to Achieve Desired Texture
Achieving the perfect texture for baked BBQ ribs requires a combination of preparation techniques and patience. One crucial step is to start with high-quality, well-marbled ribs. The meat should be tender and the bone structure robust, ensuring an appealing finish when cooked. Before baking, prepare your ribs by removing any excess fat or membrane on the bone side, as this can prevent the ribs from becoming crispily coated during the cooking process.
Next, seasoning is key. A dry rub of spices like paprika, brown sugar, salt, and pepper can enhance both flavor and texture. Rubbing the spice mix into the meat helps to break down tough fibers, making the ribs more tender. After rubbing, consider a step-by-step approach to cooking: first, bake at a lower temperature (around 275°F/135°C) for an extended period to render fat and tenderize the meat, then increase the heat to create a crispy exterior. This two-step process allows for a juicy interior and a satisfyingly crunchy coating on your oven-baked BBQ ribs recipe.
Understanding Dry Rub and Its Role in Texture Development
Achieving the perfect texture for baked BBQ ribs starts with understanding the role of a dry rub. Dry rub is a blend of spices, salt, and sugar designed to enhance the flavor and create a distinctive crust on the ribs. Its primary function goes beyond just adding taste; the spices in the dry rub react with the rib meat during the baking process, contributing to a complex, savory profile that’s characteristic of great BBQ ribs. As the rub dries out the surface of the ribs, it helps to form a protective barrier, leading to a tender interior and a crispy exterior—the hallmark of a well-prepared BBQ ribs recipe oven method.
Moreover, the moisture content in the dry rub plays a crucial part in texture development. The salt and sugar not only add flavor but also act as humectants, drawing moisture out of the rib meat and into the crust. This process helps to break down collagen, resulting in tender, almost fall-off-the-bone ribs. Mastering the balance of spices in your dry rub is key; too much salt can overwhelm the taste, while too little might not sufficiently penetrate the meat, leaving your ribs dry and tough. Get it right, however, and you’ll be well on your way to creating ribs that are both deliciously flavorful and satisfyingly textured.
Mastering the Art of Slow Cooking for Tender Ribs
Achieving tender, fall-off-the-bone BBQ ribs is an art, and one of the key secrets lies in mastering the slow-cooking technique. When preparing oven-baked BBQ ribs, patience is your ally. Starting with a good quality rack of ribs, ensure they are well marinated or coated with your favorite rub to infuse flavor. Preheat your oven to a low temperature, typically around 250°F (120°C), creating a gentle cooking environment.
This slow and steady approach allows the collagen in the ribs to break down, resulting in incredibly tender meat. The oven’s consistent heat gently cooks the ribs over an extended period, making it ideal for transforming tough cuts of meat into a mouthwatering BBQ rib recipe. With regular checks and adjustments as needed, you’ll soon have perfectly cooked, juicy, and flavorful BBQ ribs ready to impress.
Glazing Techniques for a Shiny, Sticky Coating
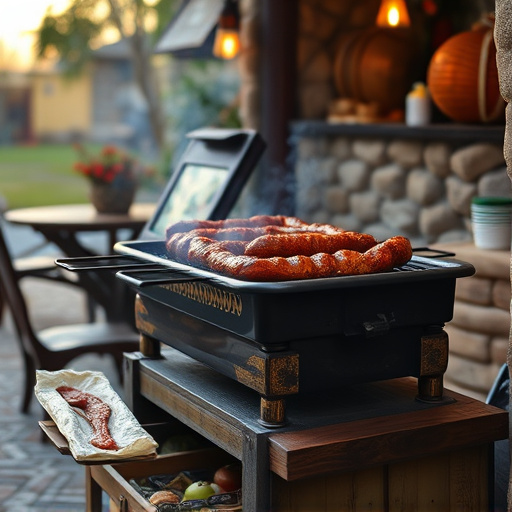
Achieving the perfect texture for baked BBQ ribs involves more than just cooking time—the glaze plays a significant role, too. For those crispy, mouth-watering ribs with a shiny, sticky coating, consider various glazing techniques. One popular method is to brush on a thin layer of barbecue sauce during the last 15 minutes of baking. This not only adds flavor but also helps create that desirable shine and stickiness. Another technique involves drizzling a simple mixture of honey and mustard over the ribs before they go into the oven, offering a sweeter, tangier twist.
For an even more impressive finish, try a two-step process: first, baste the ribs with a dry rub mix just before glazing. This step enhances flavor penetration. Then, apply your chosen glaze liberally but evenly, ensuring every rib is coated. The combination of these techniques will result in ribs that are not only tender and juicy but also boasting a captivating, glossy coating that seals in those mouth-watering flavors—the perfect complement to any BBQ ribs recipe oven enthusiasts enjoy.
Tips for Broiling to Seal in Flavors and Finish with Crunchy Texture

When it comes to achieving the perfect texture for your baked BBQ ribs, broiling is a game-changer. The high heat not only seals in all those delicious flavors from your marinade or rub but also helps create that coveted crispy exterior. Start by preheating your oven to 350°F (180°C), then transfer your ribs directly from the fridge to the oven, ensuring they’re positioned in a single layer on a rack to allow for even cooking. Bake for about an hour until tender, and you should be able to easily pull apart the meat with a fork.
Once the ribs are partially cooked, broil them for 2-3 minutes on each side. Keep a close eye on them as they cook quickly under the intense heat. This final broiling step will give your ribs that distinctive charred exterior and lock in all those flavors. Remove from the oven when you achieve the desired level of browning, and let them rest for a few minutes before serving. This resting period allows the juices to redistribute, ensuring every bite is juicy and flavorful.